DIY Thermostat Housing
For almost as long as I've had the 390SE, it has had a recurrent coolant leak. I eventually traced it to the thermostat housing. Rover (and LandRover) fitted a variety of differently-shaped housings to the V8 over the years, but TVR's installation means that most of the variants can't be used as the hose outlet points in the wrong direction. Perhaps due to some previous issue but more likely, I suspect, because the previous owner seems to have had a bit of a fetish for engine-bay bling, the car came to me with this aftermarket thing fitted. It looks to be chrome-plated brass, which would be fine apart from the fact that the bolt 'ears' aren't substantial enough. What seems to happen is that over time, the tension on the bolts causes the 'ears' to deform, allowing the main flange area to break its seal with the gasket and inlet manifold, hence the leak.
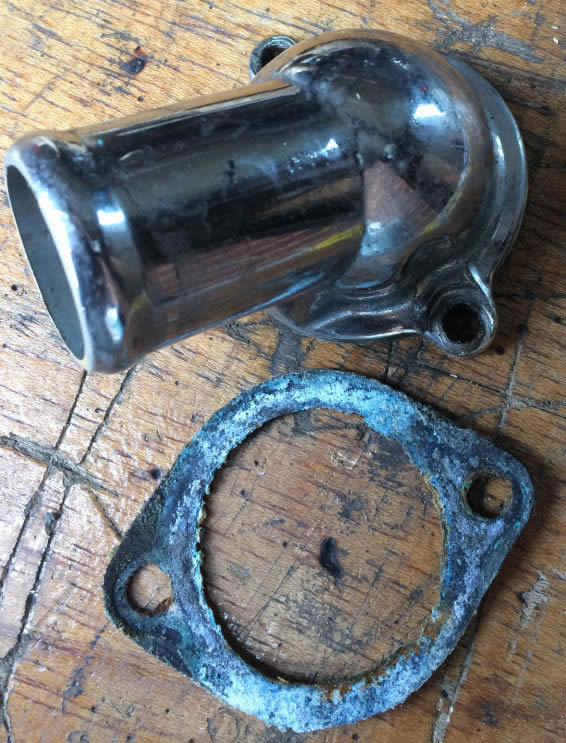
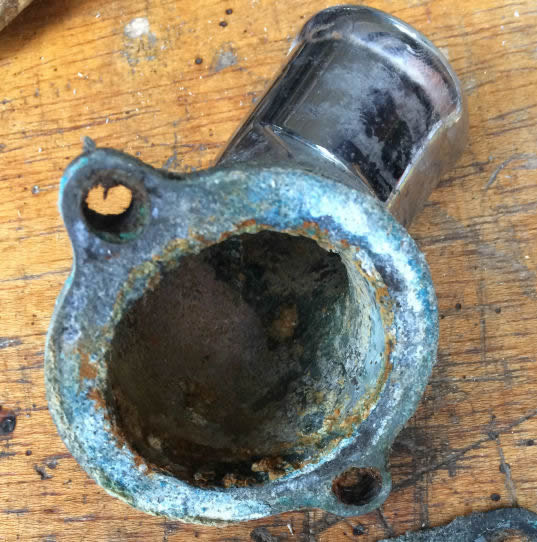
When I have a minute I'll take an 'edge-on' shot and you can clearly see the bowed face. My previous fix has generally been to rub the gasket face flat on a sheet of abrasive and then with a new gasket and some 'ponge' it would seal for some indeterminate time before the tell-tale puddle would collect on top of the manifold valley gasket and start trickling down the bellhousing. After nearly 20 years I'd had enough and went looking for a replacement, functional, non-blingin' housing. Predictably, the only style I wanted I couldn't find, nor do I have a suitable one on any of my spare manifolds. Bugger it, I thought, I'll make my own... :D
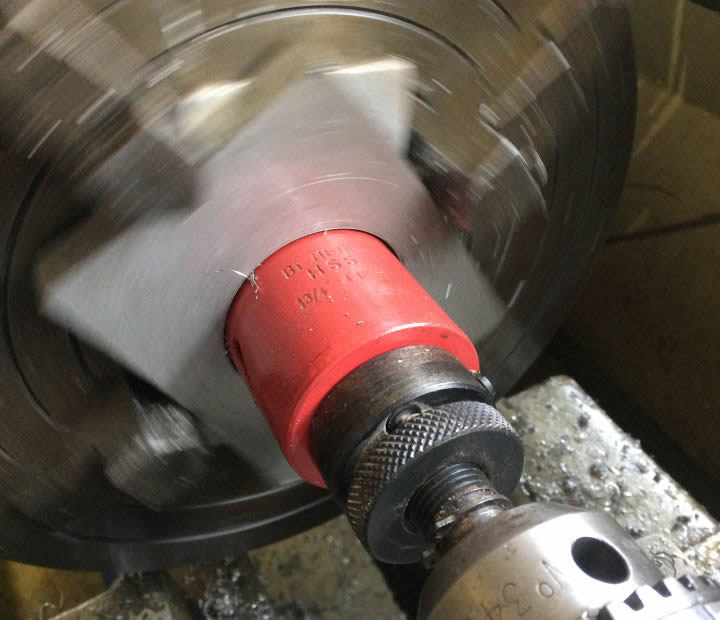
Take a piece of 12mm aluminium plate, slightly larger than the required flange shape. Chuck in a 4-jaw (note the bit of scrap plate behind it to protect the chuck) and bang a hole saw through:
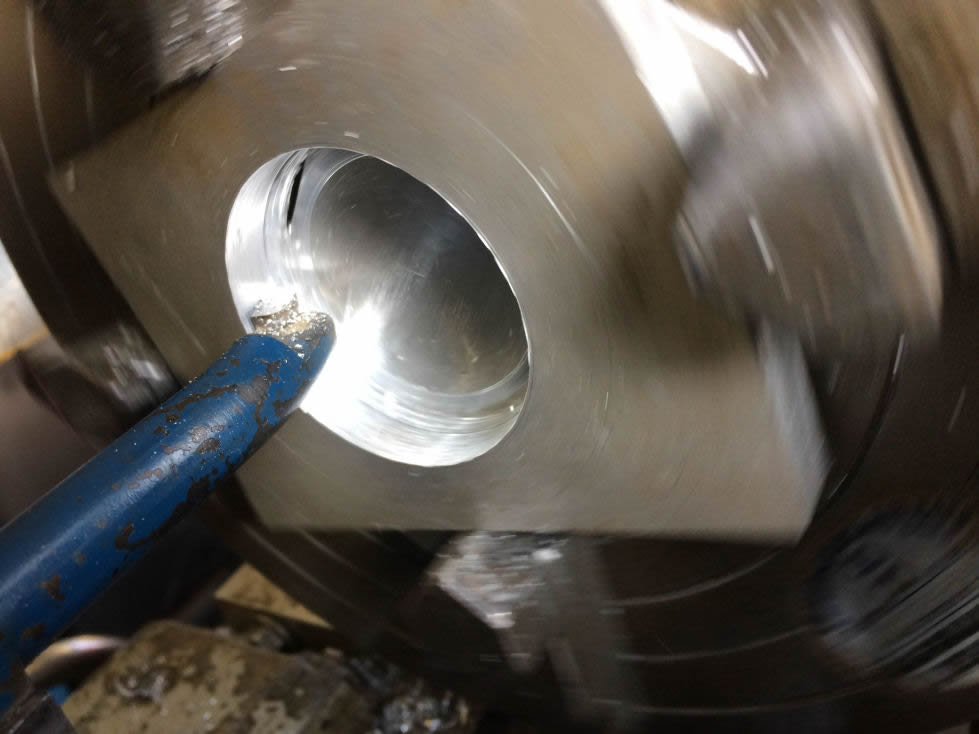
Open out to required diameter with a boring bar (stop when the boring bar starts eating the scrap packing):
Then, using a pair of dividers, mark out the outline and the positions of the mounting bolt holes. If you look closely you can see my first attempt made the overall length too great, so I made the 'ear' radii 2mm smaller and the result was bang on. You could cheat, I suppose, and draw around the gasket, but where's the engineering satisfaction in that? :D The black ink just highlights the scriber marks...
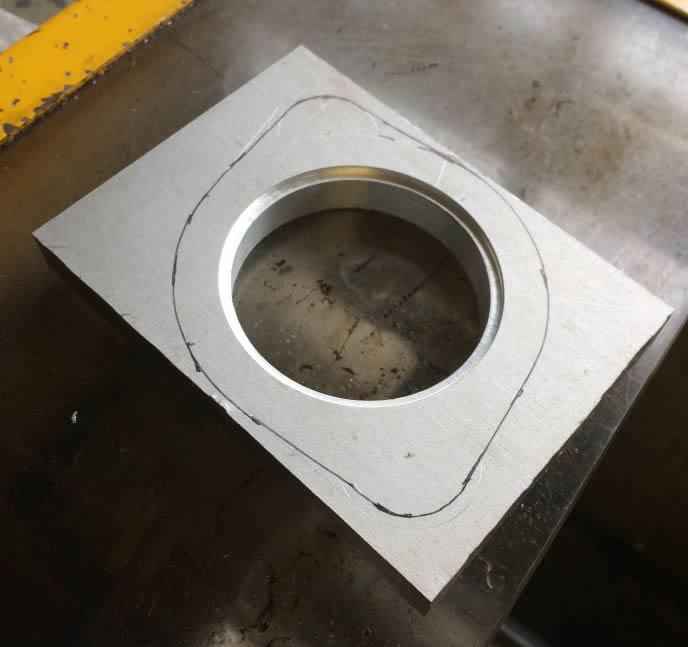
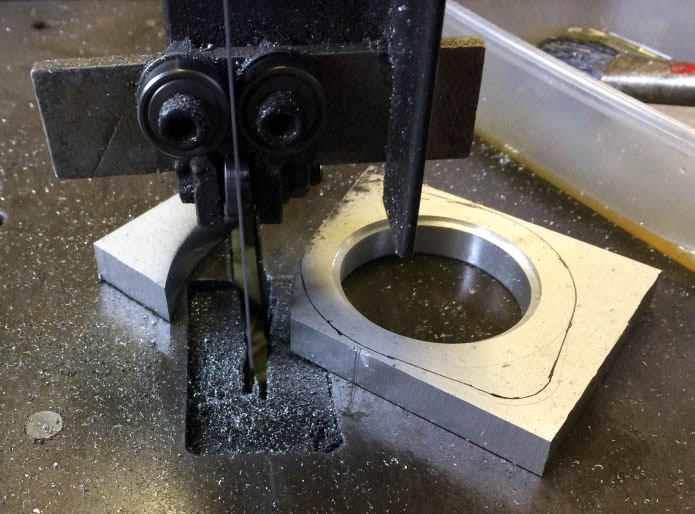
...so that I could see what I was doing with the bandsaw. This blade (seen edge-on) was new; it's a 1/2" wide Starrett bimetal with variable tooth pitch and it went through that 12mm plate like the proverbial hot knife through butter. The plate barely got warm!
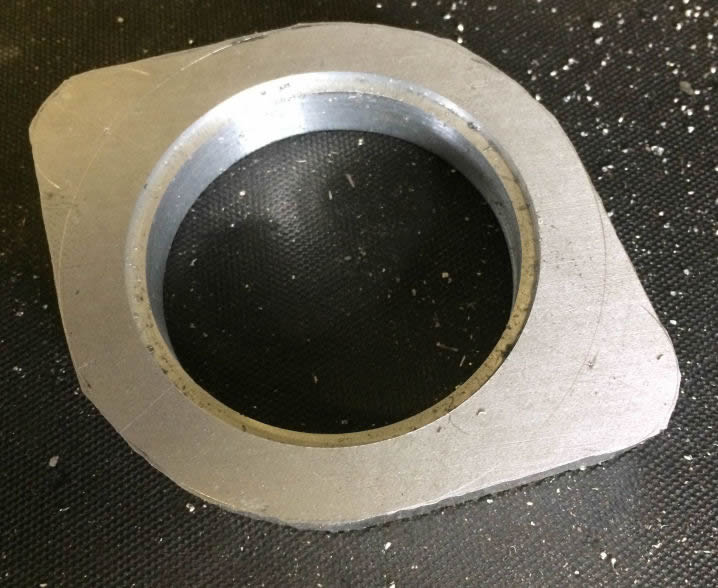
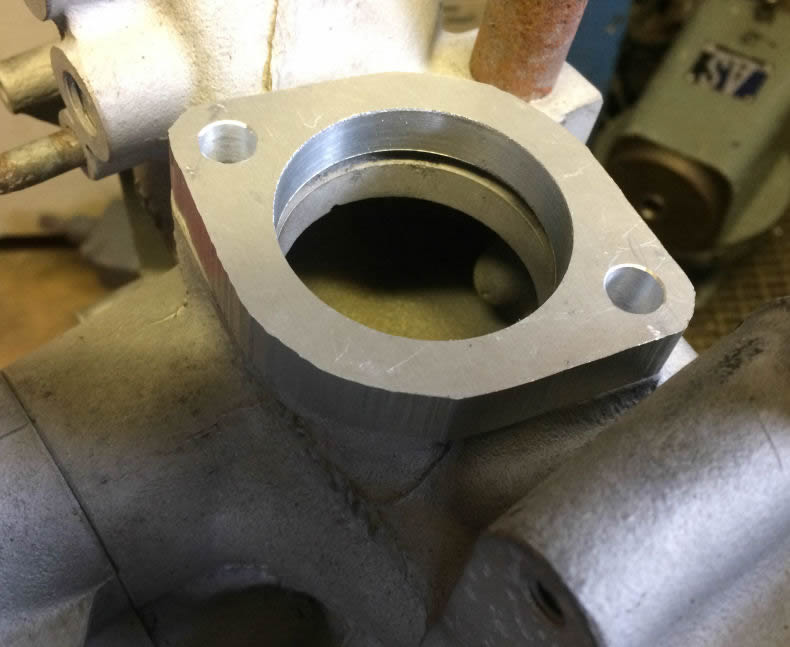
Drill the mounting holes, and then trial-fit to a spare manifold. If it's wrong here, there's no point going any further!
Spot-on, but it will have to do ;O)
The bandsaw made short work of some 38mm thick aluminium bar; this 45 degree face will be the seat for the outlet hose stub:
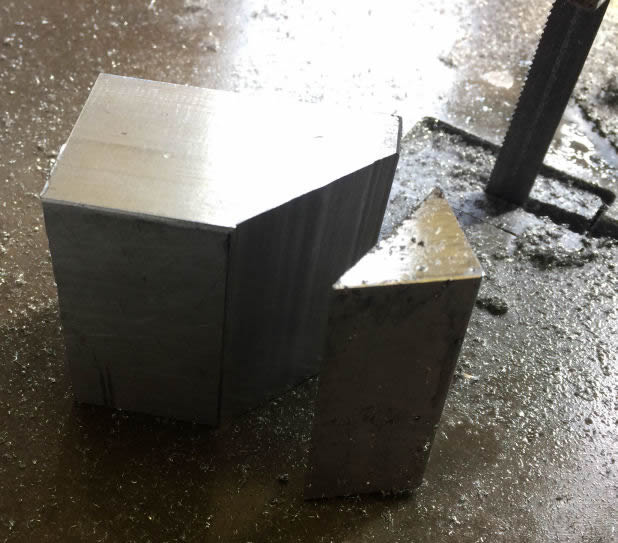
The block was then rough-sawn to an octagon.

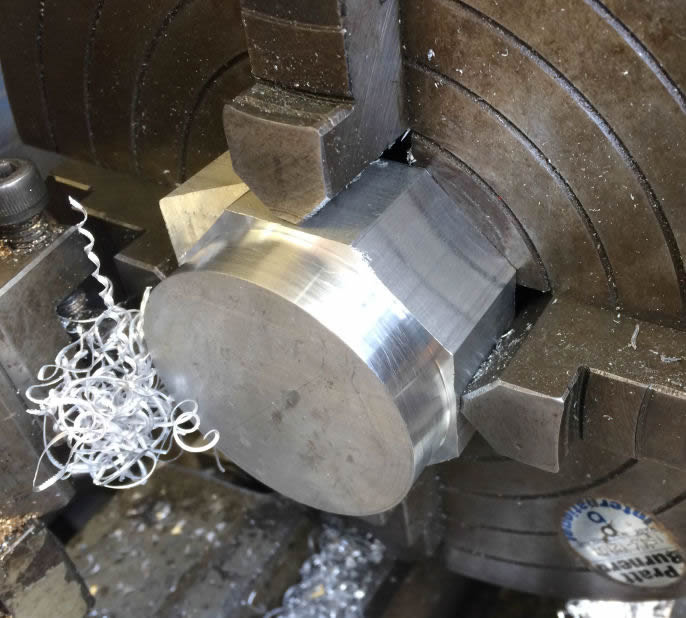
This piece, which I called the 'body', was then roughly centred in the 4-jaw and turned to be a good fit in the hole through the mounting flange. I also started turning the final OD of the body as a reference for re-chucking it later.
Trial fit of the flange (the flange having been dressed with a file to get the saw marks out):
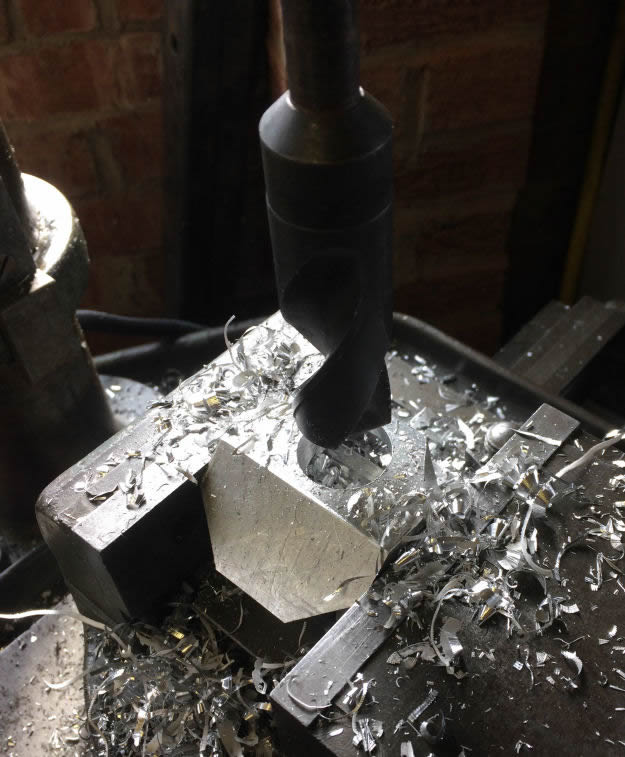
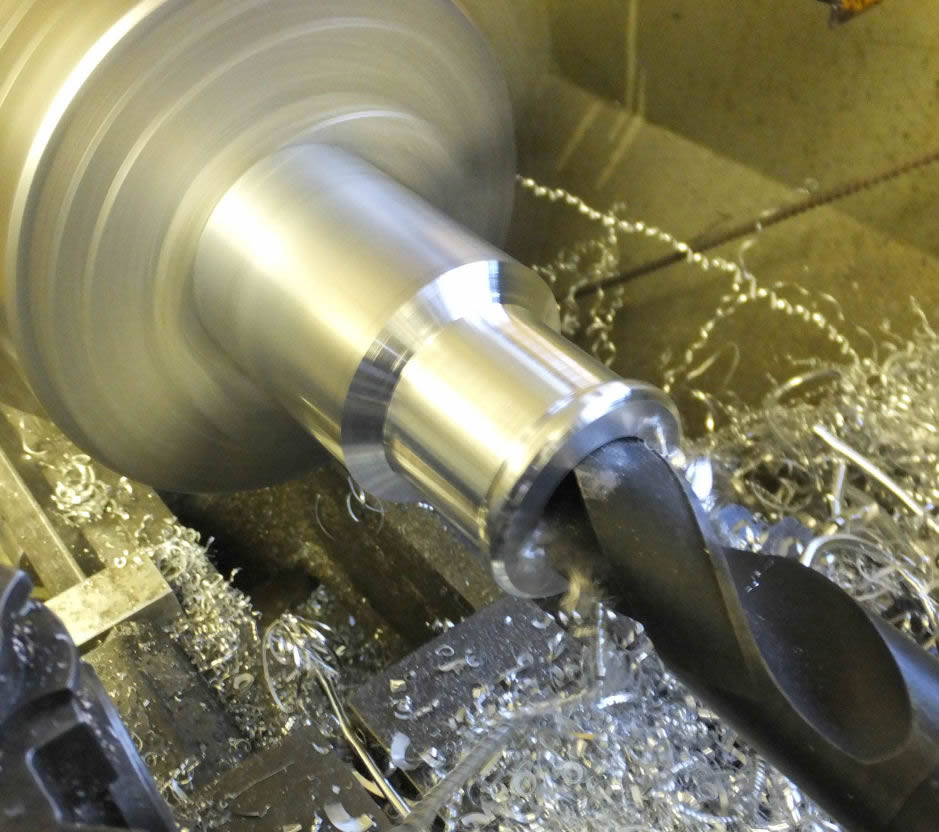
Then it was time to make some serious swarf, and a 1" drill is as good a way as any:
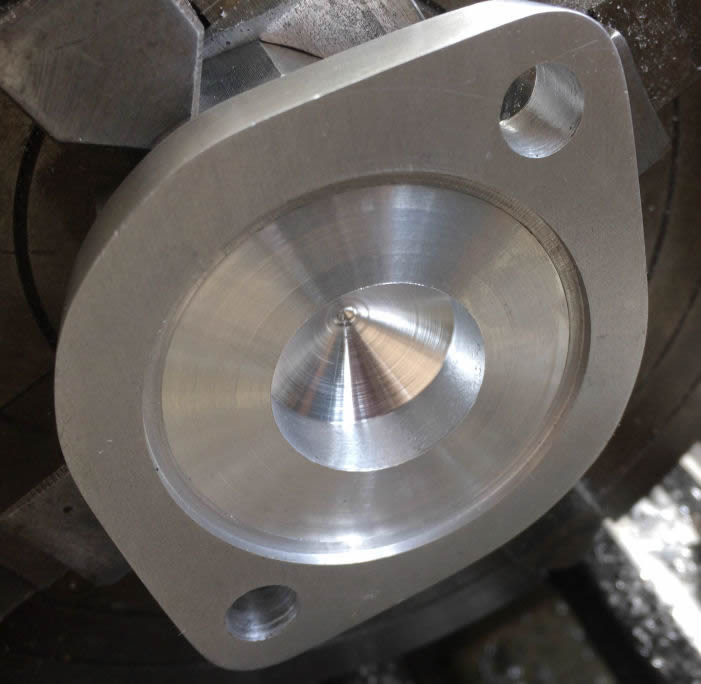
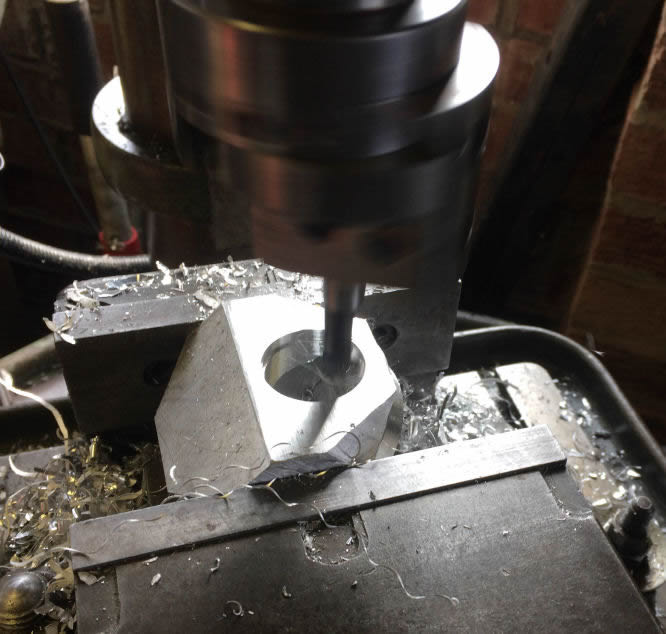
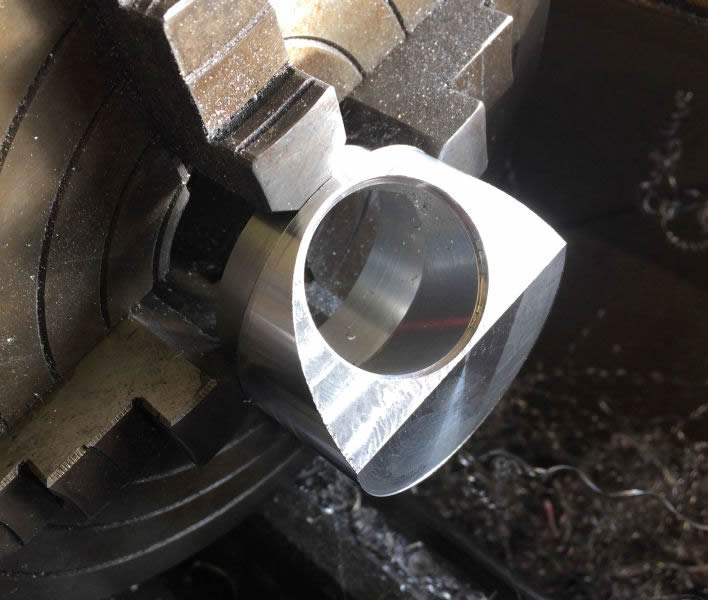
That hole was then opened out to final size with a boring bar, no picture but I'm sure you know the score... then the body was transferred to the Perrin mill/drill for some similar punishment on the chamfered face:
Opening out with a boring head - have to take it easy as the round column design of this machine doesn't lend itself to heavy sideways cutting...
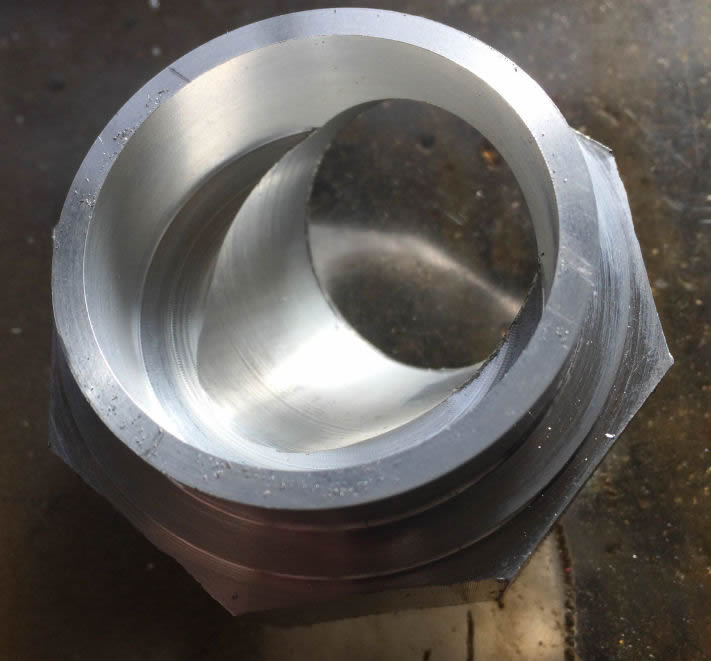
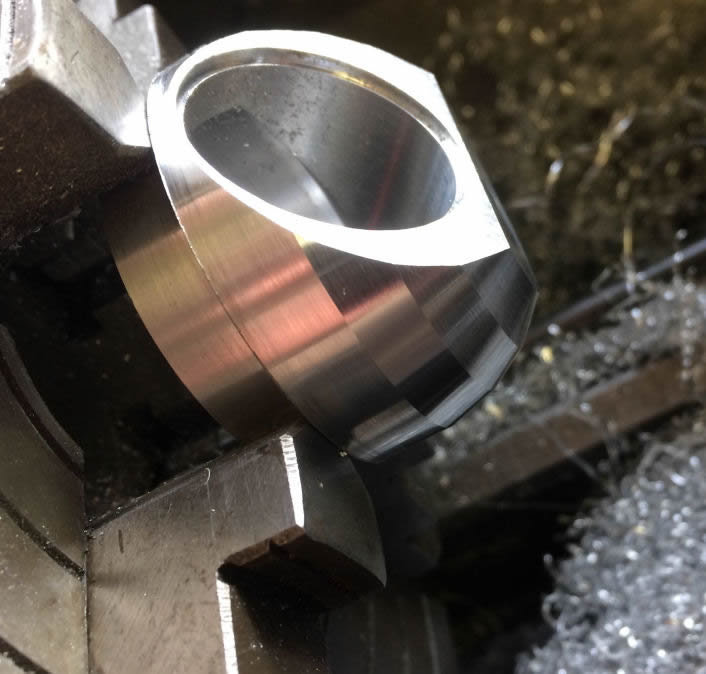
With that done the body looked like this (plus a mountain of swarf!):
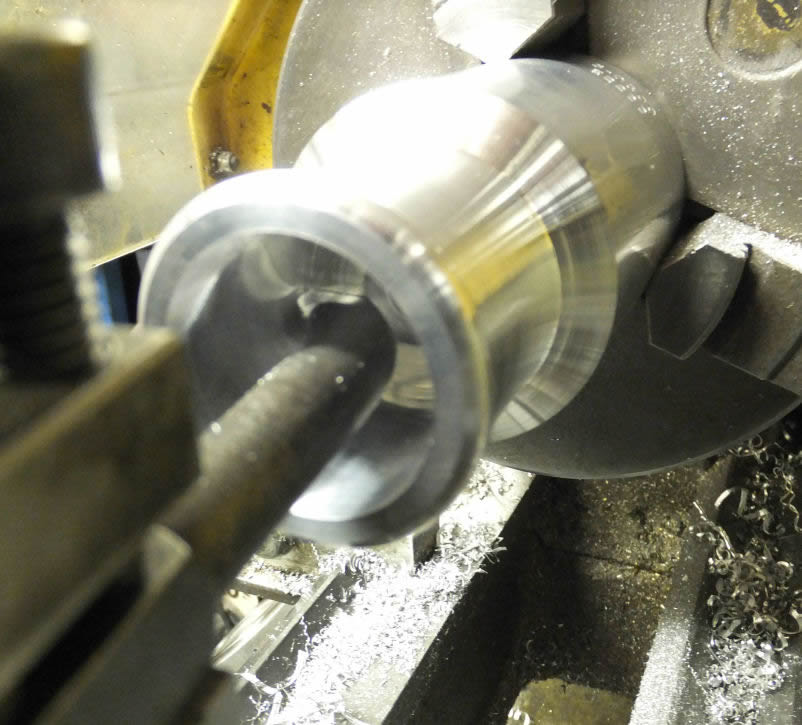
The body was returned to the lathe, re-centred using the flange-fitting OD (using a DTI with long tip to pick up the narrow strip just outboard of the chuck jaws!) and had the corners knocked-off:
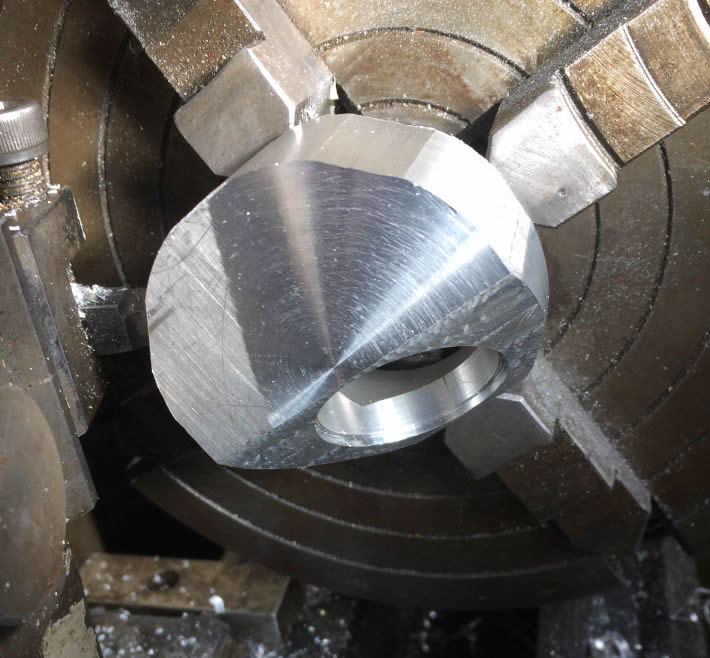
It was then reduced to final OD...
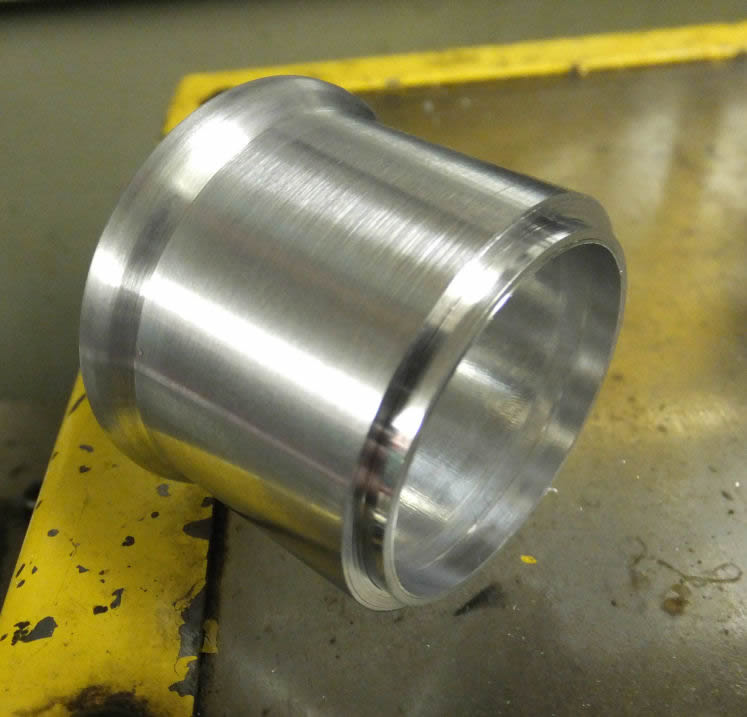
...and some chamfers added freehand. The counterbore is 2mm deep and 2mm wider than the bore, just to locate the outlet hose stub...
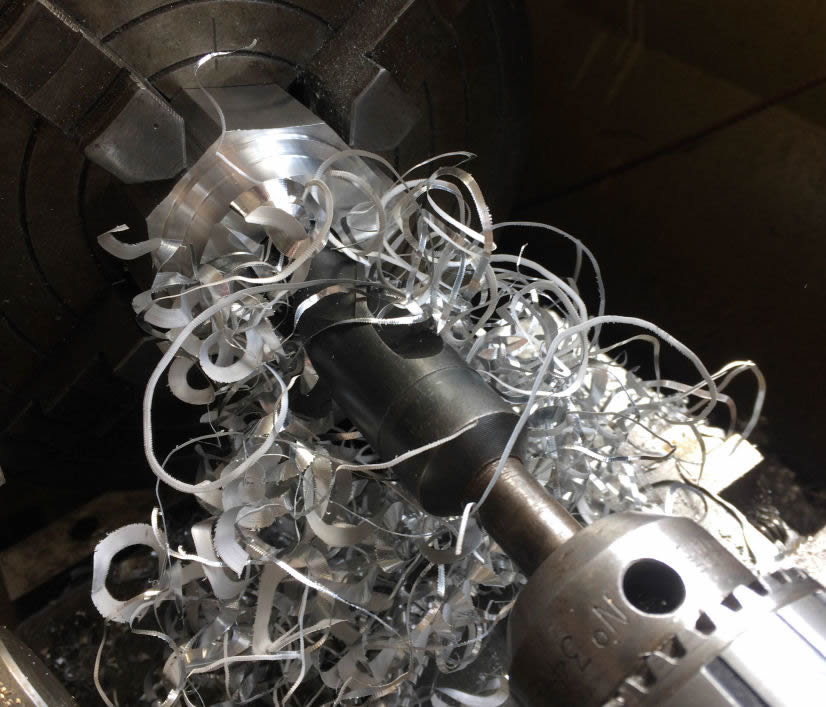
...which was turned from some 50mm diameter bar. Whilst the flange and body were some random offcuts of 'cooking' aluminium, this bar was 7075T6 - it really was a shame to use it for such a mundane job but the hose ID is 38mm and the stub needs a rib around the end for the hose to bite against, so it was sacrificed for the greater good :D It's that 1" drill again...
... followed by a nicely-polished HSS boring bar.
The hose stub was parted off...
...and the whole contraption trial-assembled. What you can't see is that I had to put the hose stub in the freezer and the body in the oven to get them to mate; I knew fine well that if I tried to tickle either of them to loosen the fit it would end in tears, so I was happy with a shrink fit. However, it is clear in this shot that even if I used socket-head bolts, there's not much clearance for the heads. So...

...to be on the safe side, I cut some clearances in the body. This isn't normally how you'd use a T-slot cutter but it was the only thing I could find with the right sort of radius! And yes, the collet chuck was a bit close to that clamping bar...
![]()
Much better! Right, now to ruin the whole bloody job: where did I leave that TIG welder...?

Ah yes, there it is. Cunningly, I designed the parts so that this weld is hidden once the housing is fitted. I merely took the high spots off with a file and some abrasive paper, the gasket should take care of any other, erm, 'tolerances'.\8O)
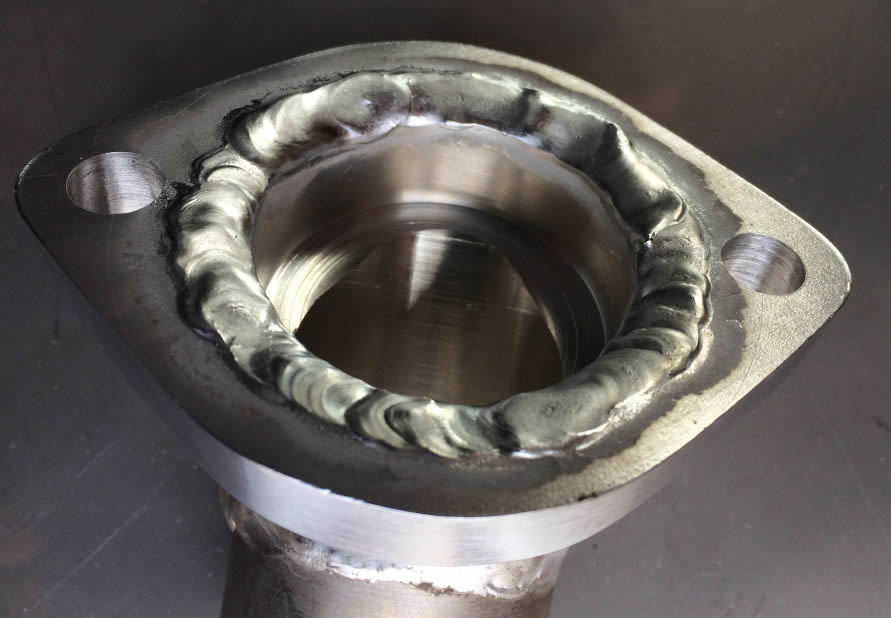
The hose stub was welded... and then the weld...erm, 'blended'... to hide the evidence :D I like the concept of welding in the same way that I like the concept of being a porn star: despite having the necessary equipment, I don't get much practice at either...!
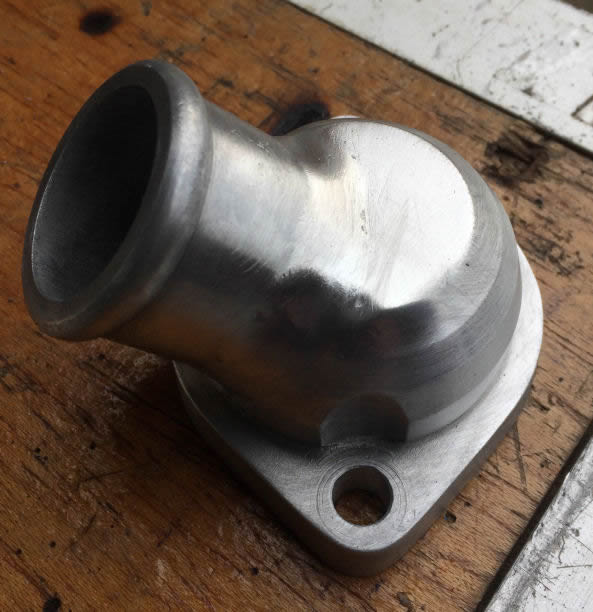
Meanwhile, back in the real world, the new housing fits a treat. Yes, I did wipe off the excess gasket sealant...
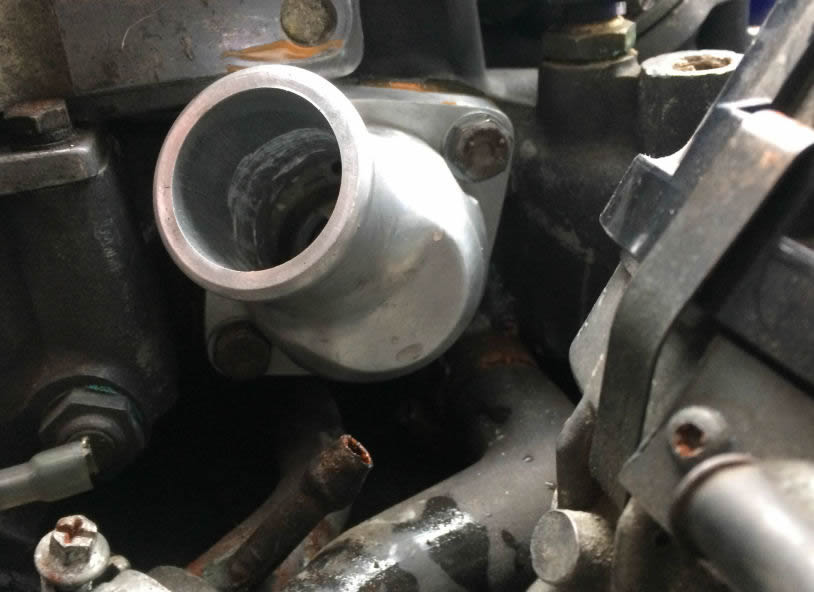
...and once I'd refitted the hoses, refilled the coolant and charged the car's battery after its winter lay-up, the 390 started first turn and ran up to temperature with not a drop spilled. Of course as I write this (April 2020) the whole bloody world is at a a standstill due to some bloody lurgy that's doing the rounds, so whether I'll actually get the TVR out this year remains to be seen.
UPDATE 121220
As it turned out, the TVR did get a few runs out this year, and so far it hasn't lost a drop of coolant. It also seems to have been running much better, which may well be down to the ECU's coolant temperature sensor being properly immersed in water rather than seeing steam and hot air due to the leak. The car is now on SORN for the winter; who knows, the post-Brexit UK of 2021-onward might be a great time for driving an older car... or it might not.
UPDATE 300323
Where does the bloody time go? Not only did 2021 evaporate, but 2022 did as well, and if you cast your mind back we not only had arsehole politicians ruining the country's economy (and yet still remaining in jobs; only in politics could that happen) but even bigger arsehole politicians elsewhere in the world had to stamp their indelible mark on history and simultaneously ruin things for a large portion of Europe's population. As a result, fuel was so bloody expensive I just couldn't see the point in putting the 390 on the road, so I didn't even bother MOTing it. Whether I'll bother this year remains to be seen. It's 35.5 years old now so if I hang onto it another 4.5 years (and assuming we haven't had a nuclear war by then) it should - at least under current rules - become exempt from road tax and MOT! Of course I'll probably be living off my pension by then so won't be able to afford to go to the shops in it... but I guess the alternative is to try and sell it, and I can just imagine the idiots I'll have to deal with... best leave it where it is then ;O)